How to Choose the Best Canister Filter for Your Aquarium
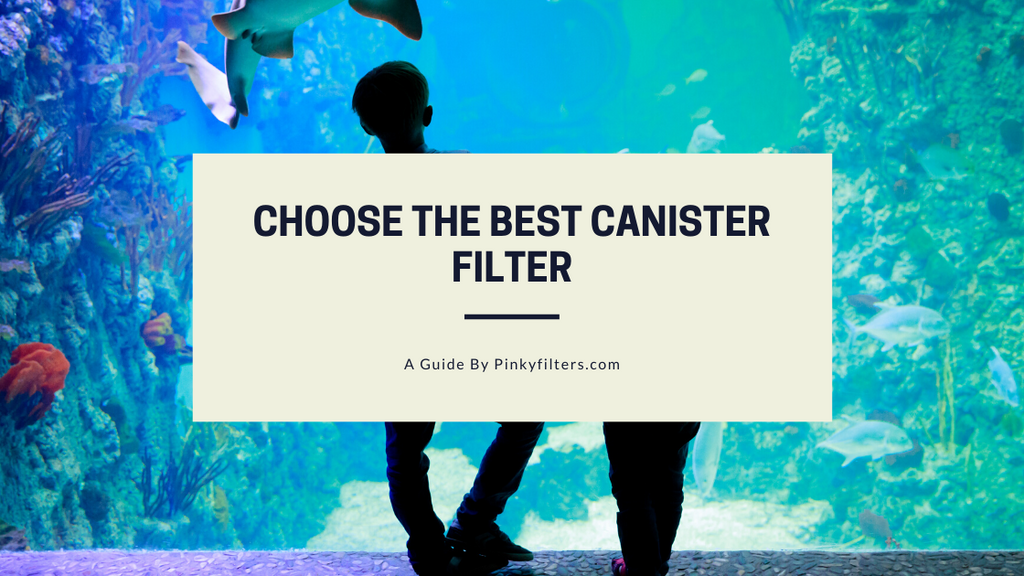
Choosing a canister filter for your aquarium is one of the most significant things that should never go unnoticed.
Setting up a proper filtration system is one of the most vital steps of maintaining a healthy aquarium. That being said, filtration can be a bit more complex than you might realize at first glance. In this post, we are going to discuss the most common forms of filtration (and what you should use in your tank!).
Mechanical Filtration
 When you think of an aquarium “filter”, you’re most likely imagining a mechanical filter. Mechanical Filtration is a simple – yet important – form of filtration that aims to capture large particles (such as uneaten food, fish waste, plant leaves, etc.) from the water column. Capturing waste before it has a change to decompose is crucial to maintaining good water quality.
Mechanical filters can take a few forms. Here are a few of the most common types that you should consider when setting up a tank:
Most aquarium owners usually don’t get into chemical filtration until they’re a bit more advanced. That being said, chemical filtration can be extremely useful for certain setups and scenarios (such as for those battling algae).
Chemical filtration works by absorbing harmful compounds from the water column at a microscopic level. PhosBan, for example, helps removes phosphates (for those that don’t know, phosphate is basically algae fuel). Other, more advanced, chemical filtration medias such as Chemi Pure Elite and All-In-One Biopellets help remove nitrites and nitrates along with phosphates.
Chemical filtration medias such as those discussed above can vary in ease of use. Chemi Pure, for example, comes pre-packed in bags that can be conveniently placed within your HOB or canister filter. Biopellets and GFO, on the other hand, often require reactors to be used effectively.
Biological Filtration
Biological filtration is arguably the most important form of filtration for any fish tank – in fact, none of us would be able to keep an aquarium without it. In short, “biological filtration” refers to the beneficial bacteria within your tank that convert harmful compounds (ammonia & nitrite) into less harmful compounds, such as nitrate. Without these beneficial bacteria, ammonia would build to deadly levels in a matter of days.
First of all, giving your tank enough time to cycle in an absolute must. During this time, beneficial bacteria levels build up within your substrate, rockwork, and filter media. Adding fish to your aquarium too soon in the cycling process (before the beneficial bacteria are strong enough to convert ammonia to nitrate) usually doesn’t end to well.
Another important step in maintaining strong beneficial bacteria levels in your tank is cleaning your filter media properly. When cleaning out your mechanical filter, it may be tempting to rinse the entire pad/sponge under a faucet – this is not the correct way to do it. Tap water usually has trace levels of chlorine that will kill off your beneficial bacteria. Instead, get a small bowl of water from your established tank and rise the filter media in that water. Doing this will rinse out the waste particles, but also allow the beneficial bacteria to survive within the media.
Reference: BuildYourAquarium.com
Thank you to our friend Mason at www.BuildYourAquarium.com for writing this post!

The most important factor of owning an aquarium is the proper cleaning of the tank. Many new owners are unsure of how to go about this. This information will help new freshwater aquarium owners keep a clean and healthy tank. These first two questions are the key to maintaining your aquarium allowing you to enjoy this beautiful addition to your home.
When should I clean my tank? You should clean your tank once every two months unless you can really tell it needs cleaned before then. Why should I clean my tank once every two months? Because your tank will start building up algae on the inside and your gravel will retain waste that could make your fish ill in the future.
The following steps are easy and quick and will provide your fish with a clean and happy aquarium.
 You have to prepare for the steps to follow before removing your fish from your freshwater aquarium. There are some supplies you will need to clean the tank, so it's best to have them handy before starting. You will need some kind of container that your fish can be placed in until it's time for them to be put back in the tank. It doesn't have to be a large container, but make sure your fish do have enough room to swim freely. This container is dependent on how many fish are living in the tank. You will also need a fish net, a towel or paper towels to wipe up any spills that may occur, a water pitcher or a bucket for refilling the tank, food drainer, a clean sponge, and a clean rag. After you have these things gathered, you're now ready to begin cleaning your freshwater aquarium.
This may be the most important step in the cleaning process. It is time to remove the fish from the tank. The first thing to do is make sure that the container in which the fish are being placed has water that is about the same temperature at the tank, other wise your fish will go into shock. When the container of water is ready, use the net to catch each fish one-by-one and place them in the container. Once all the fish are collected, be sure to place the container in a safe place where it will not be spilled. It is common for fish to become stressed when they are moved, so the water temperature and reducing as much unneeded activity is very important!
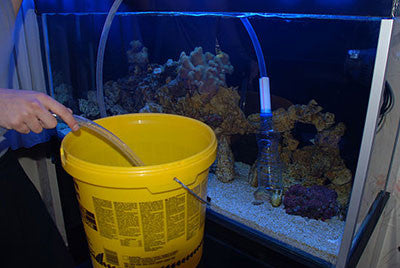
When all the fish are out of the tank, it is time to start emptying the water from the aquarium. Using the pitcher or small bucket, begin to remove the water. The water from the tank may be disposed in a sink or toilet. This can be a messy task, so be sure to clean up all spills to prevent any possible accidents. It is not necessary to remove all the water from the tank. Most freshwater aquarium owners remove approximately 3/4 of the water. The remaining original water will help acclimate the new water you will add later.
Most of the waste that gathers in a tank settles into the gravel at the bottom. It is very important to clean the gravel when you clean your tank. At this time you will remove the gravel. You can use the fish net, a small scoop or even a dustpan to do this. Place the gravel in a container. Once you have removed all the gravel, transfer it into a strainer of some sort and run it under hot water. Be sure to mix it up while you are rinsing so that all the sediment and waste is removed. Once the gravel has been cleaned, place it aside. You will not be putting it back in the tank at this time.
Now it's time to clean the inside of the tank. This can be a tedious chore if there is a lot of build-up on the glass. Some freshwater aquariums have algae growth on the glass. The warmer the water is inside and the more the aquarium is exposed to natural sunlight, the more algae growth you will have. This can be cleaned off by using a scratch pad. Try to use the least abrasive pad you can to avoid scratching the class. Cleaning with hot water will aid in the removal of algae. Make sure to never use any type of cleaner or detergent when cleaning the tank. This will be fatal to the fish. After removing the algae, finish by wiping down the rest of the tank with a towel or soft rag. You may have to repeat this a few times. Try to rinse the rag or towel frequently to remove all the waste. If you have decorative pieces in the tank, be sure to wash them as well using hot water. After completing these steps, your tank should be clean of waste and build-ups.
Now it's time to replace everything. Start by replacing the gravel into the tank, followed by refilling the water. Take notice of the temperature once again. Try to add water that is of the same temperature as the original water in the tank. Add your finishing touches with decorative pieces, then carefully move the fish back in. It may take a little while for the fish to adjust to the new water, but after having followed all these steps, you can be sure that your tank is clean and healthy.
You won't have to completely clean your tank for another 2 months. Always remember to change the filters if they are dirty. As an added tip, if you remove 20% of the water every month and replace it with clean water, this will cut down on the complete cleaning of the tank in the future. To maintain a healthy tank, it is important to clean it properly and keep up with the aquarium care. By doing this, you will ensure a long life for your fish and an enjoyable experience for observers.
The importance of the thirty day cycling process cannot be understated; this is a vital part of establishing the ecosystem of each individual aquarium. The exact processes which are occurring during this cycle, however, are often not well explained, or else they may be a little too well explained and no one without a degree in organic chemistry can understand a word that is being spoken.
If you are using fish to stimulate the cycling process take a great deal of care. While on the first day there is likely to be no ammonia in the tank, by the end of the third day these levels will have reached near toxicity. It is important to carefully monitor the fish during this crucial state; it may be even better to use an artificial source of ammonia to trigger this process. This will allow you to establish the proper balance in the tank without placing your aquatic friends at risk. While ammonia levels are beginning to rise first stage bacteria are beginning to grow.
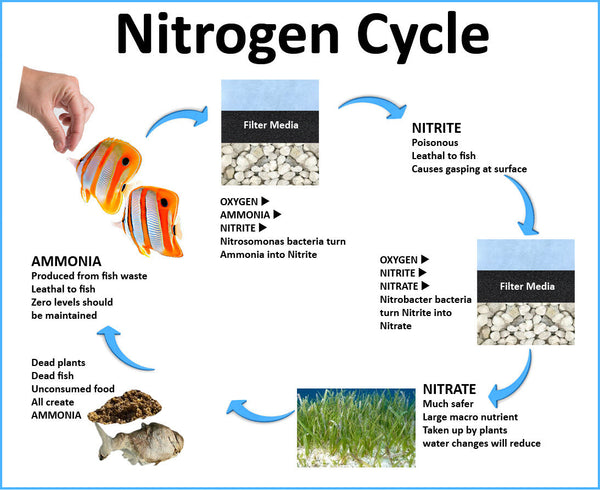
By the fifth day these first stage bacteria will have begun to metabolize the ammonia into nitrite. This process will be well established by the end of the first week. At the end of the second week ammonia levels will be completely safe for the fish and nitrites will be at their peak. From here until approximately day 27 the second stage bacteria will be working to begin metabolizing the nitrite to nitrate. By day 30 ammonia and nitrite levels should be all but non-existent as nitrate levels reach their peak and the bacterium are well able to handle maintaining the chemical composition of the water.
 This is an example of minimizing Mother Nature's perfect filtration system in order to provide your fish with the perfect habitat. Hopefully you have chosen to artificially stimulate the cycling process so that it is well established prior to inserting your fish. If you have not it is very important that you keep a very close eye on them while the tank is undergoing its cycling process. The spikes in ammonia and nitrite levels can be severely harmful to fish if they are exposed to it for too great a period of time, and they will likely begin to show signs of distress during these periods of the cycling process. If this becomes severe their conditions can be aided by changing a portion of the water in order to dilute the concentration of these products.
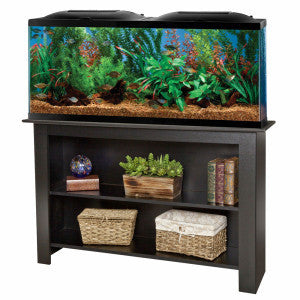
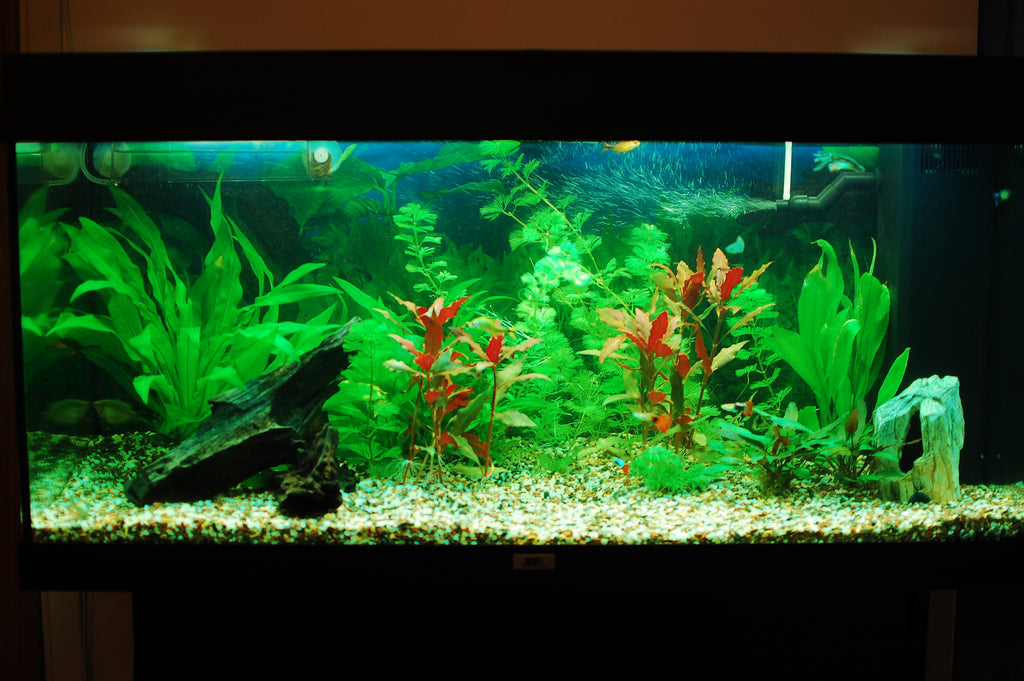
A fifty-five-gallon freshwater aquarium is a good choice when purchasing a new tank, if nothing else, simply because of its size. These tanks are large enough to accommodate a variety of fish, but still small enough to keep in tight spaces in the home or office. Your local retailer can assist you with specifics in purchasing, but here are some suggestions for the basics. Purchase an acrylic tank, because they are lighter in weight and easier to care for than glass aquariums. Also, the visibility is better in an acrylic tank. If you don't already have a stand or a suitable replacement, keep in mind that you will need to purchase one. You will need a heater for temperature control, and a thermometer for checking the water temperature. It will take approximately five bags of rock or another substrate to line the bottom of the tank. Choose a bright color to add some interest to the aquarium.
 In addition, you will need to purchase a filter for the tank. Filters can be complicated. Do a lot a research to find out what type of filter is suggested for the fish that you choose. There are filters that go beneath the substrate in the bottom of the tank, as well as filters that attach to the side of the aquarium. They also vary greatly in price. It is not necessary to buy the most expensive filter when setting up a basic freshwater aquarium. The best part is that you can also save money on using the Pinky Filter Media in any filter that you Purchase.
The aquarium will also need lighting. Again, based on personal preference you can keep it simple or get very technical. Most fish will respond nicely to a basic light that is simply turned on for a few hours each day. An aquarium should contain some form of plants for added interest. The plants serve a place for the fish to seek refuge and feel safe. There are many varieties of freshwater plants that would work nicely in a fifty-five-gallon aquarium. Just be sure to purchase an aquatic specific species. If you don't want the hassle of live plants, plastic is always an option. They have come along way with synthetic plants. In most cases the fish may not even notice the difference, unless of course they try to eat them.
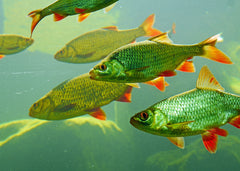
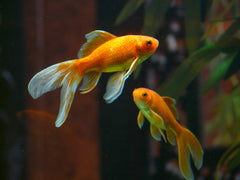
Once your tank is established and you are ready to add fish, choose your fish carefully. Start with hardy fish, such as live bearers, gouramis, barbs, and danios. These fish are hardy enough to handle higher nitrate levels in the tank. Allow about thirty days for these fish to become acclimated to the tank, before adding any new fish. It usually takes about thirty days for the symptoms of ich or other fish illnesses to show up. It is important to make sure that all existing fish are healthy before adding any new species. The transportation of new fish itself is stressful enough, without having to add disease to the situation. When purchasing fish, it is important to remember that a fifty-five-gallon aquarium can handle about fifteen to twenty small fish total. This will allow plenty of growth room for the fish.